During this project I was director. I organized the group as well as starting off with the concept of creature attacking the college. The group worked so well together. We all had our own jobs and roles to do throughout the project. The outcome I feel was strong and has a strong simple narrative.
I designed, modeled, uv'ed and textured the creature. I am happy with the outcome, the creature seems to fit the scenes well and moves nicely. I started in maya, sculpting and texturing in Zbrush and used topogun to retopologise the mesh. The creature was my responsibility, I took the model from start to finish, working with sanjay to make sure it animated well, I rendered loads of tests to make sure the textures were looking the way I wanted them to look.
I also was lighting artist on the film. I have had a bit of lighting experience but never to this level where I had to recreate real lighting. I am happy with most of the outcomes and have really learnt loads of techniques and ways to light the shots. This is going to help me when it come down to lighting new projects and turntables.
At the start of the project I also worked on the sound but towards the end we decided we needed some help! we worked along a sound artist who really helped us develop into the film and get the atmosphere we wanted.
I edited the footage throughout the project. I made cuts and changes to make sure we flow of the film was good and to make sure each shot had its moment and wasn't repetitive with the same still camera shot that most people do in their first cg & live action films. I added blurring to where I thought was needed and some digital zooms to change up the shots to make them best out of the animations and models.
Friday 25 March 2011
Final Edit
Here is the Final Edit!
Alot of extra work went into this and alot has changed since the last edit I showed. This was about edit 15 when we had finally finish all sound which we got alot of help from John Tebb.
I now blurred alot of the shots as the camera swung in to focus which gives it a more realistic sense to the action.
Myself and the whole group are really happy with the outcome. Within in 8 weeks we have modeled, textured, rigged and animated a creature from start to finish as well as lighting it and compositing it into a scene. This was our first try at doing this. Greg learnt and was able to track shots a industry standard tracker said was hard! Steph learnt how to render out from maya and composite in nuke as well as rotoscoping out all the problems areas that sometimes occurred. I learnt alot about texturing and improved on my topology skills working with Sanjay to get the rig ready for joe and nick to animate!
Final Images and Final Thoughts
This is a post that will show the final images from the edit of all the scenes. I will talk about each shot on what I think about the outcome and areas I would maybe try improve on if we had the time. The images are not in any order:
First images is a image of the last shot and last frame of the film and I think it was a really successful shot where everything came together and really showed how we improved during the completion of this project.
For some reason in nuke when we tried to blend the outline with the footage there was some ghosting with the ambient occlusion layer which creates that faint white line around the mesh but its only on some of the frames and adds to the image.


The stair shot (below) was the first shot that was animated, tracked, lit and rendered and I really think this was a very successful job! Everything came together well, there was some problems with render layers as we had to work out a way to get the shadows on the floor but I think altogether it was a very good job!

The corridor shot (below) was the quickest shot I think we did as it was only 48 frames with very little movement. But I think we got it to suite the footage well. However Greg thinks if he had the time to rework into it, he would play with the depth as the creature to him seemed abit big.


I really wanted to show of the model in this shot by using lights to cast shadows but highlight from the front really created the look I was looking for.

Above is a image from the shot with the creature in the corridor. We had some problems with this shot as the shadows or something with the render made it hard to roto out the creature but Steph worked around it and fixed it up nicely, we lost some of the density of the shadows I wanted but still works well.


The atrium (below) was a fun and strange shot to work with as we had to work with different animations made separately as we had some problems when bringing more rigs into the scenes. The shot came out really well. I am happy with the lighting and the final scene I lit was the creature smashing through the window and it seemed to stand out with extra highlights and shadows to frame the action.


The balcony shot! This is most people s favourite shot. I really enjoyed lighting this shot and creature the contrast with the lights as I showed earlier during my blogs on how I lit this scene.


For this shot I worked alot in aftereffects also as I added a zoom in on the face as well as blurring the camera as it came in and when the camera spines away. I also added blurr as we zoom in to create a more realistic feel.


The Media room. This was a great looking shot at the end and really worked well. One problem was with the tracking. The camera walks forward and was so hard to track that it jumps quickly. But other than that works really well and the final image looks good.


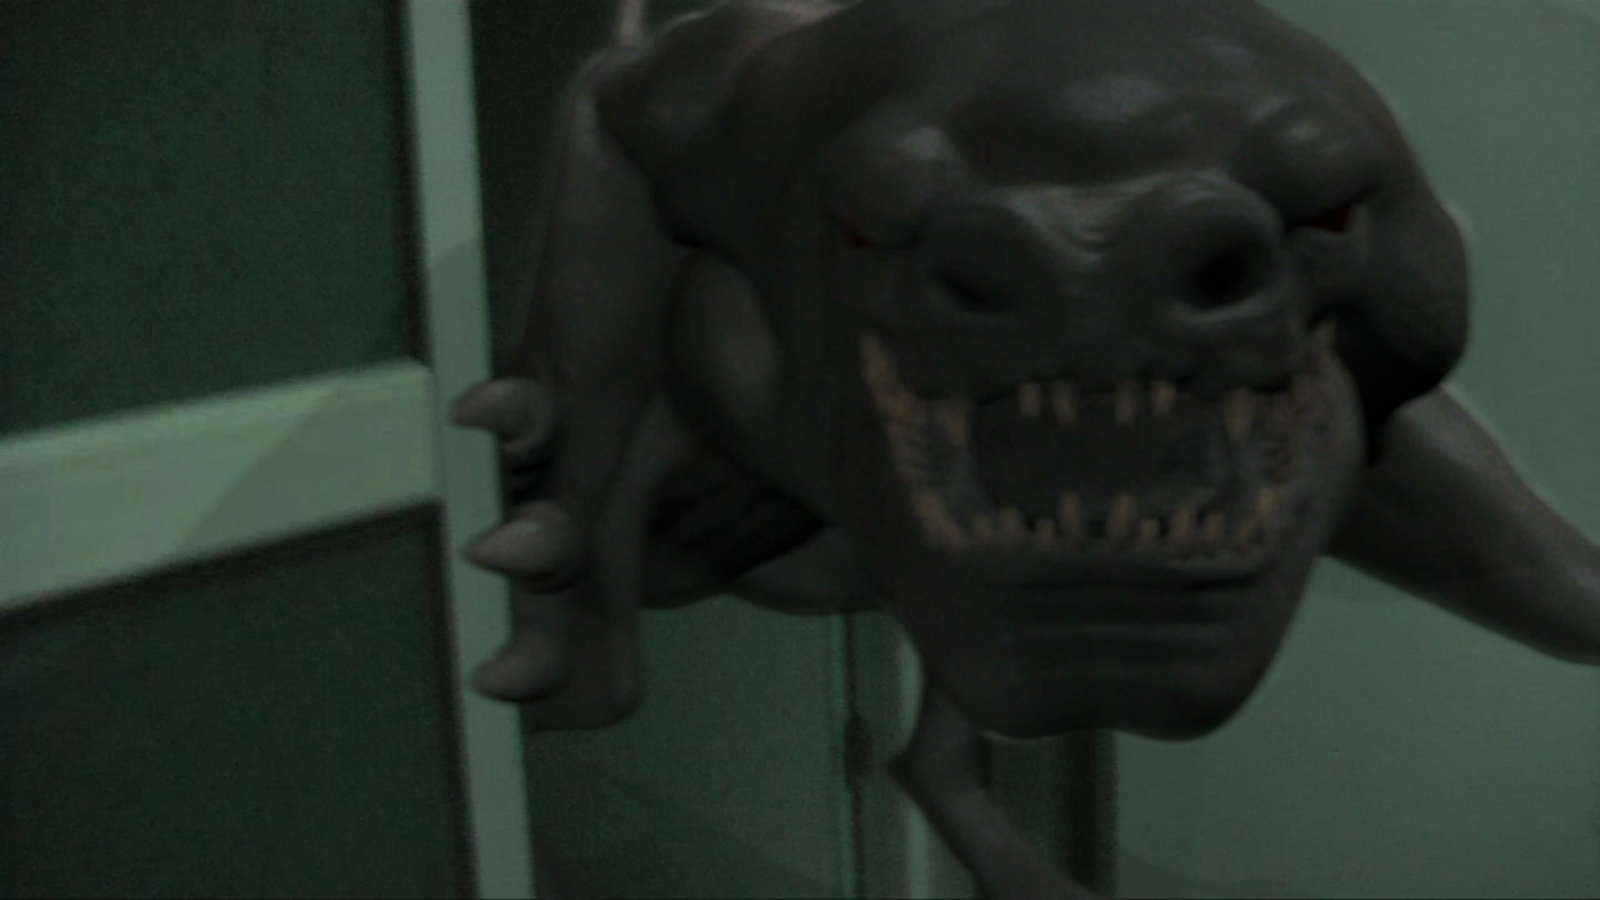
The image below shows the creature nicely and I am happy with the depth of the creature in the background as I think it added to the scene having the other one in the background not closer to the door.

My death (below). This was definitely the hardest shot for all of us. For me the lighting was confusing as I didn't want it to get lost and not seen but not to bright so I used the lighted area on the left as an excuse to light up the creature on the left side. Also pretending to get jumped on and killed was tuff.
Tracking for greg was a nightmare due to have nothing to track that would give information on depth or points that can be tracked!
Finally for Steph it was a task to roto me out when needed and try match the renders up with the footage.


Sunday 13 March 2011
VFX Atrium Lighting
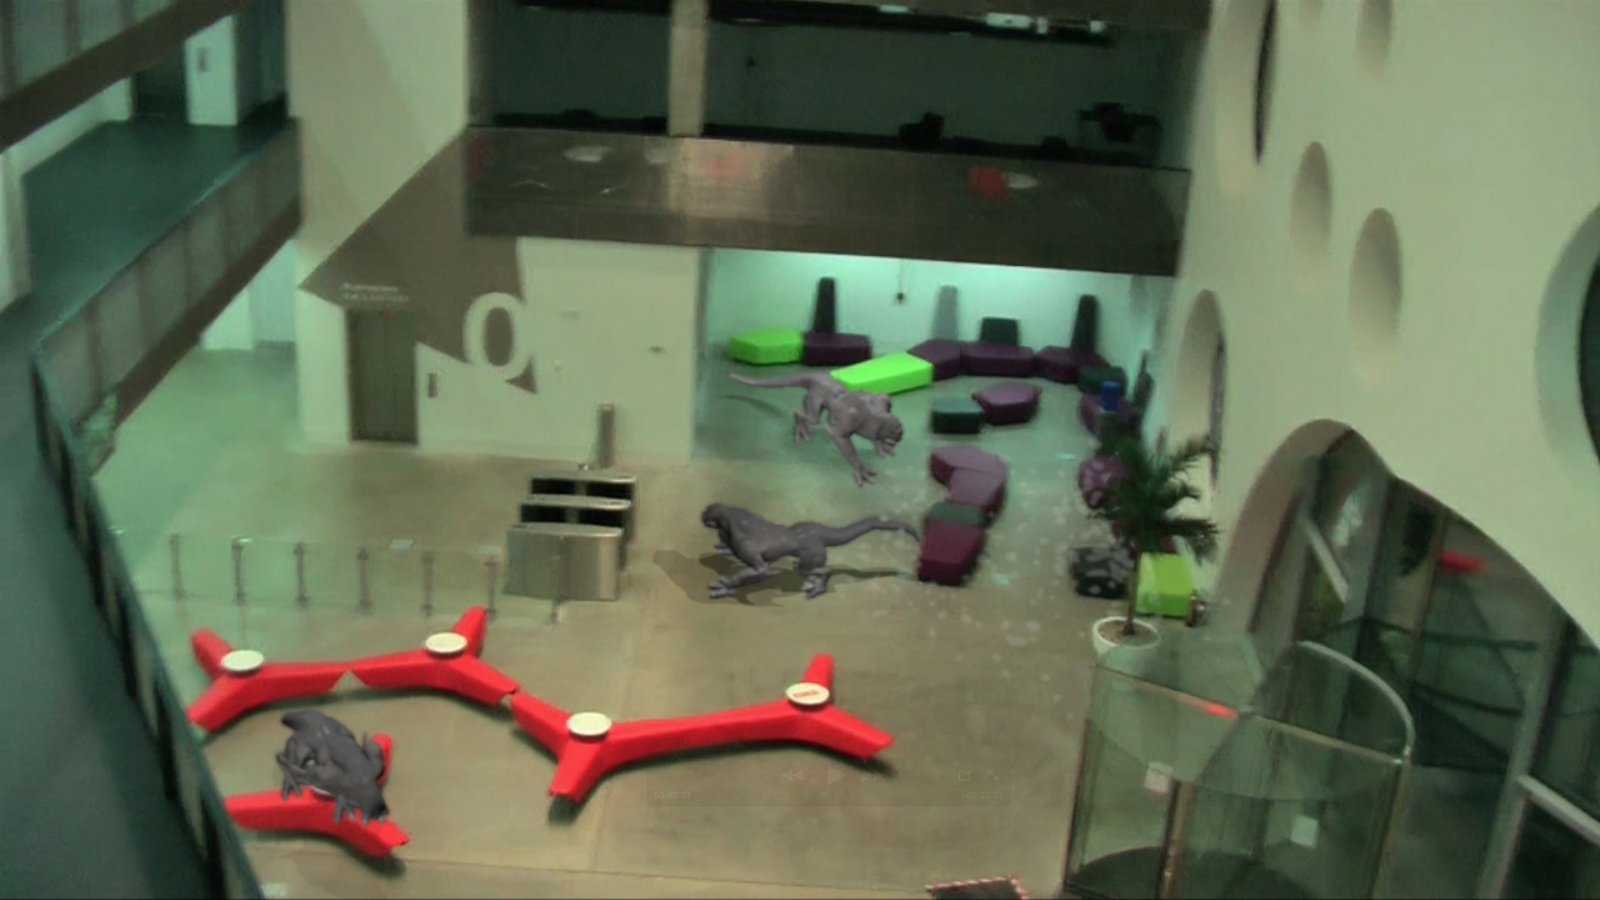
Here is the development of the first of 4 attrium shots. We plan to add 4 creatures to the shot, but animating them individually as well as lighting which gives us more control what each creature looks like.

Below is an image showing my attempt to use maya mental ray base sun light option. The reason I tried to use it was that it would give a nice ambient light and simple shadows. But every single object in the room from the tracking layer dulled out and made it nearly impossible to control and the creature was so flat colour I thought it would be harder to control this than trying to work with just simple lights to create some ambient light.

Below show me trying to get the right angle using the directional light. I had some troubles as the shadows of the chairs give the impression its coming from straight down ad underneath the balcony to the left the shadows show that the right is coming from the right. So will try develop a way to balance it out.

For this scene I want to try put lights in that I can use for the later creatures that will appear in the scene. I firstly tried just an ambient light which I thought would give a nice basic tone to the shot but the creature became out really flat. So I toned it down to give some basic light to the shot and using spot lights to start to high light areas from certain directions. Light coming from above from the left seems to be the only type of directional light so will try get that using maybe a directional light?

Random Renders and Animations!
Below is the Balcony Shot render! I think the render came out really well! Steph really worked well with the renders and got it blend really nicely. I am so happy how the lights worked out. The shadow cast from the beam as the creature goes underneath it. Some places for improvement could be the shadows on the floor. For some reason they did come out quite as defined as in my lighting but maybe if we have time we can refine that render pass. Also for some reason the wall to the right has a section missing. This could be when the renders were set up that bit of geometry was missed out.
The two videos before show quick playblast (top) and a render (bottom) testing out how the animation of the creature from nick and the glass effect by sanjay work. Also I got to see if any areas I thought needed work on. The render I did to test my lighting quickly and to see the shader of the glass. Its a low quality render but I think works nicely. You can see the glare from the vender machine and the glass fits the scenes well.
Final Staircase shot! looks great for our first ever cg with live action. The textures came out well. The glare from the lights are reflecting nicely on the creature and the animation is working very nicely. The compositing and rotoscoping is nearly perfect. Some areas around the pillar aren't spot on but its for a frame which no one will notice going at this speed.
Draft_06 Creature sound
Edit 10 I think for me but the 6th one I have posted!
Here its started to get final shots together! Stair and Balcony shot now finished. The balcony shot has a more developed sound effect for the creatures roar. I have now mixed a pig and a bear roar together and the effect is quite cool.
The balcony shot you can see I have animated the digital zoom. I am really happy with the way the shot came out! the way the light changes as he go under the beam works really well and the contrast when the head is near the light has also worked. The light darks on the other side due to the creatures head now blocking the light which was intended again I am happy with the result.
Sunday 6 March 2011
RenderFarm Burst Scene Lighting
Here is the development of the VFX shot for the bursting out of the renderfarm! A very fun shot to film and get setup. Nick animated the creature and door props. I did basic models for the door but we plan to blur most of the detail as it moves so fast so I didn't go into to much detail. The creature for this scene smashing through the door so we had sanjay setup the glass he smashes into. I took the scene and started to make sure the objects weren't going through the ground and did the lighting.
Below shows many images trying to get the texturing right on the props around the creature and also the development of the creature within the scene. I have added the glass shatter given to me from Sanjay. Problem I had to fix was the shader at first you couldn't see glass so I made it less transparent.
The door was an annoying object to light as we plan to comp most of the blur and colour grade it to fit the scene but I didn't want to model a really complex door for a 2 second clip and we have to lower the quality to fit the footage.


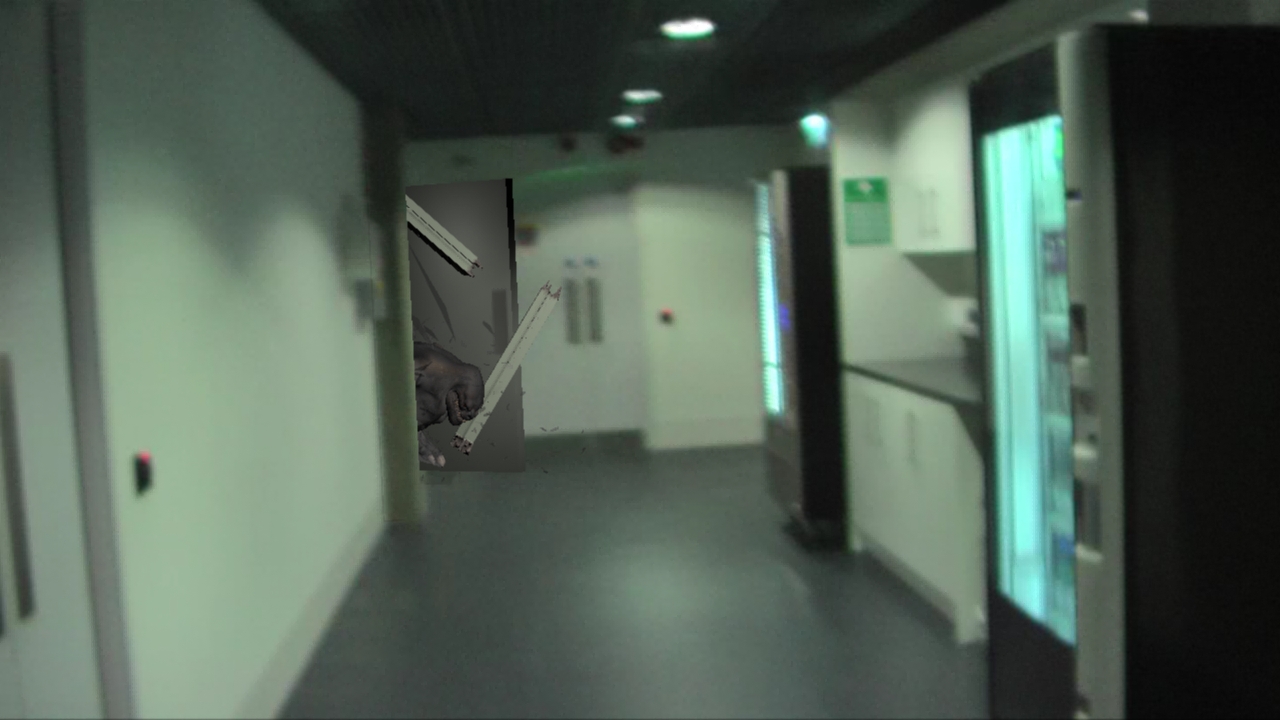


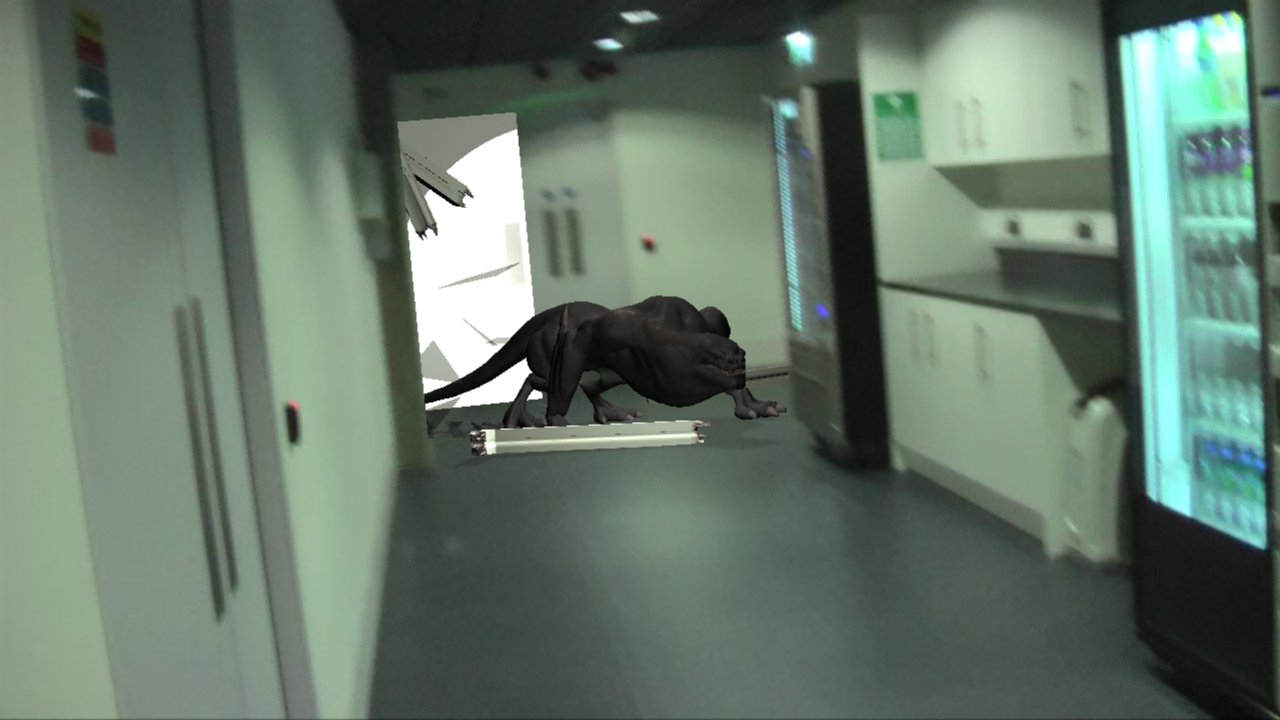
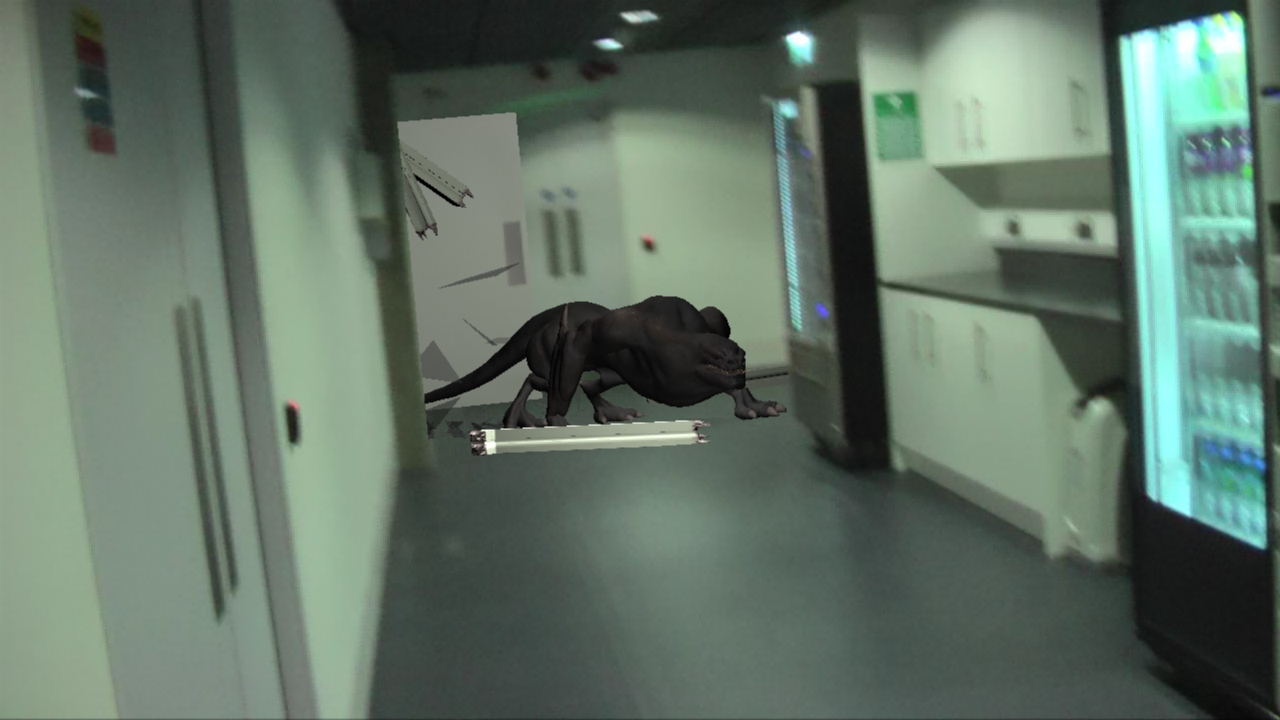
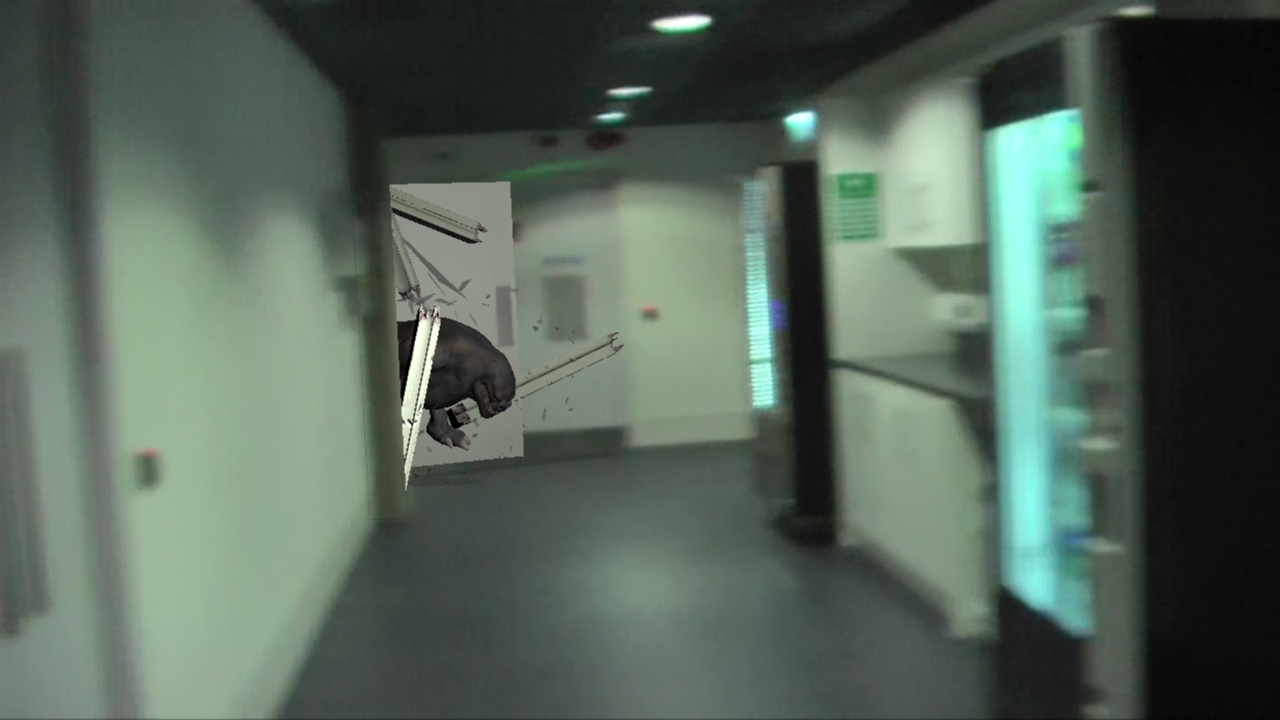


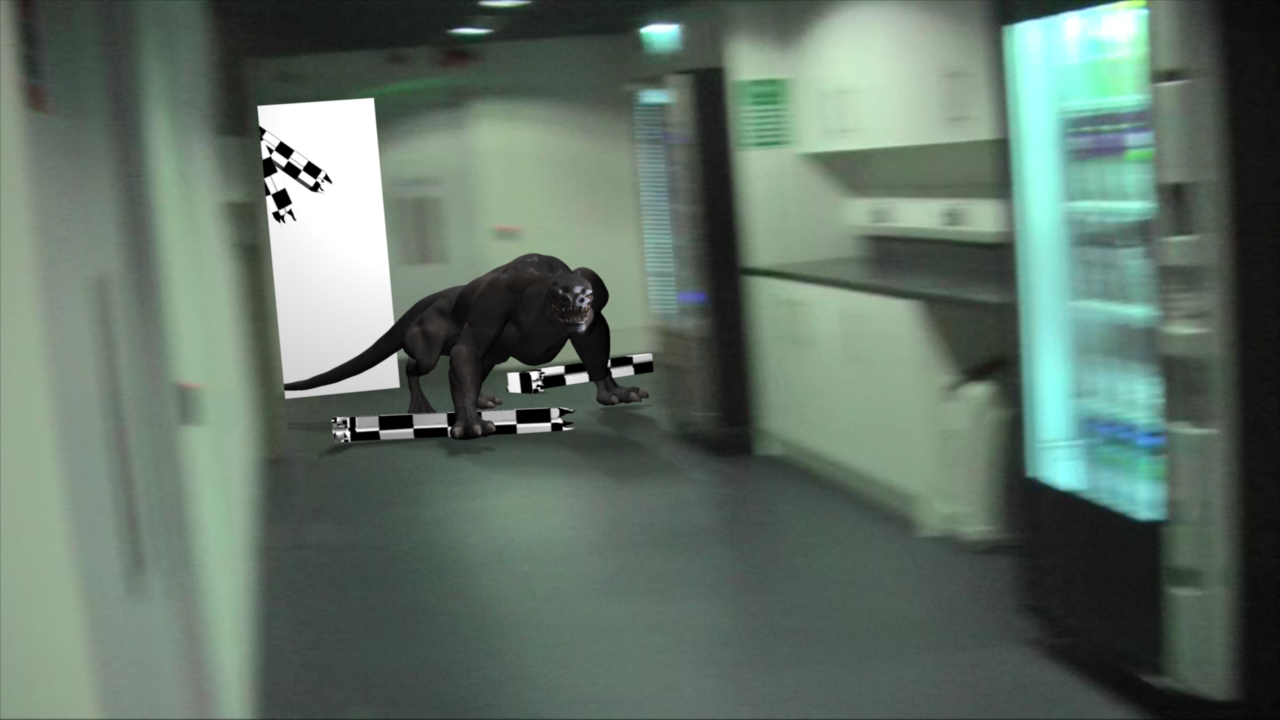


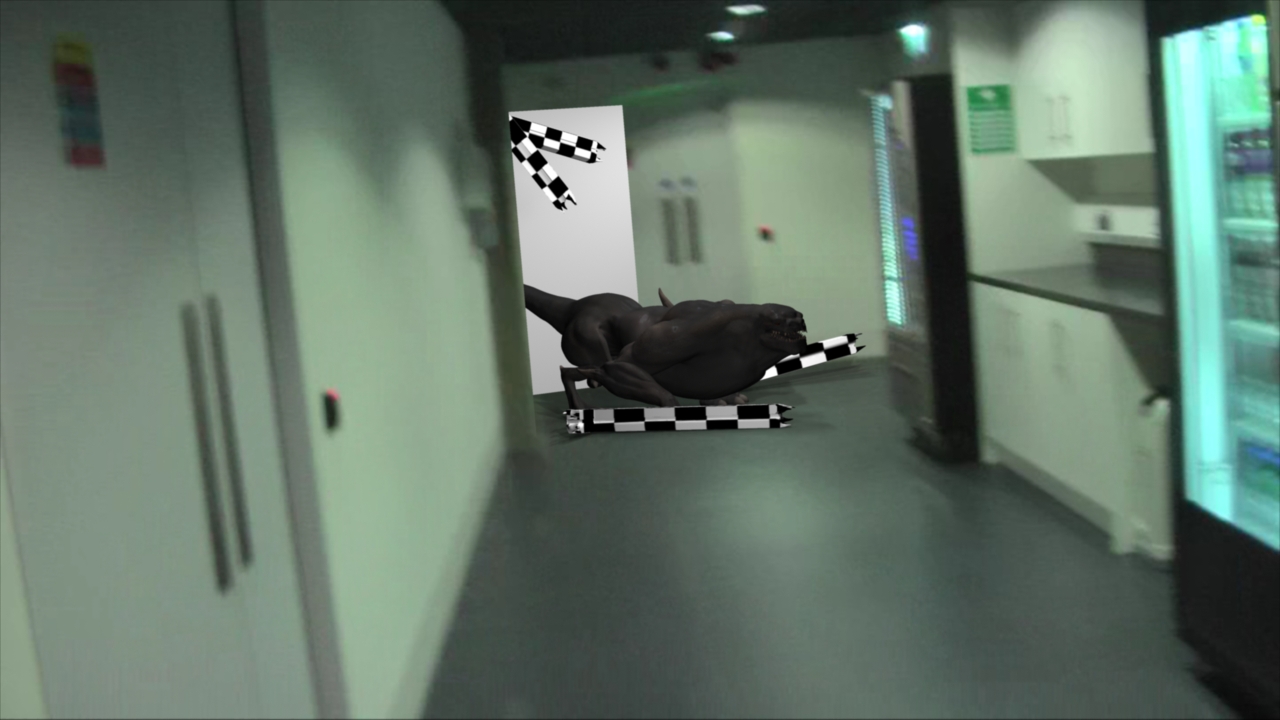


When I started lighting this scene I looked at areas that would give off light that would effect the creature. Firstly spot lights above the head, there were important to get right. I had to make sure I used a few lights that gave off shadows but the more you use the more crazy amount of shadows so I used only one light that gave off the shadows for the whole scene.
Subscribe to:
Posts (Atom)